一、实验目标
1、掌握如何构建 HarmonyOS应用;
2、掌握应用程序包结构、资源文件的使用;
3、掌握ArkTS的核心功能和语法等基础知识,为后续的应用开发奠定基础。
二、实验步骤
(一)创建ArkTS工程
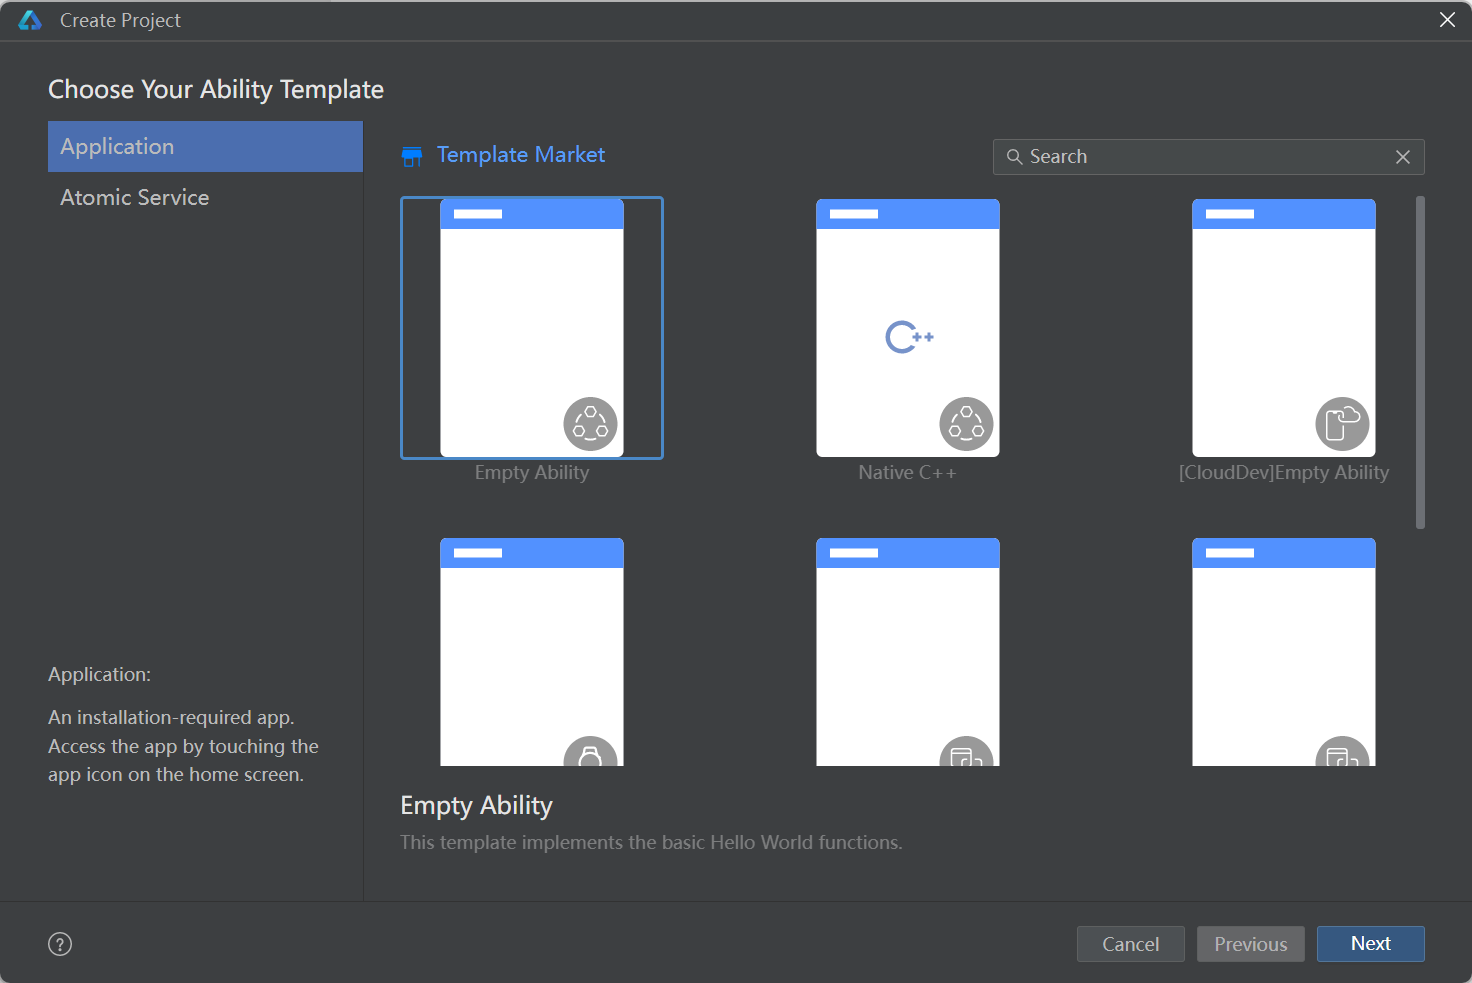
1、使用DevEco Studio,创建工程。选择Empty Ability。

(二)构建第一个页面
1、将pages中的index.ets文件中的相对布局(RelativeContainer)改为线性布局(Row/Column)
1
2
3
4
5
6
7
8
9
10
11
12
13
14
15
16
| @Entry
@Component
struct Index {
@State message: string = 'Hello World';
build() {
Row() {
Column() {
Text(this.message)
.fontSize(50)
.fontWeight(FontWeight.Bold)
}
.width('100%')
}
.height('100%')
}
}
|
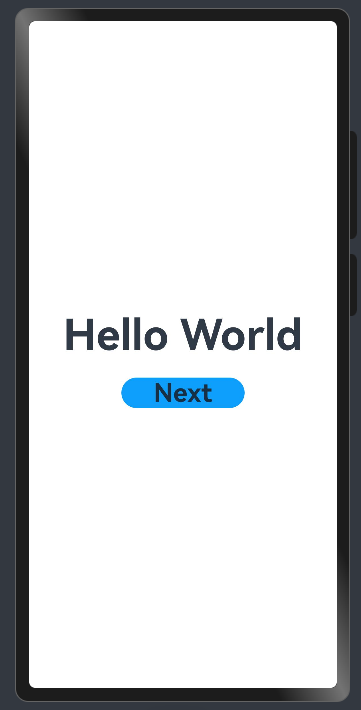
2、添加按钮
1
2
3
4
5
6
7
8
9
10
11
12
13
14
15
16
17
18
19
20
21
22
23
24
25
26
27
28
29
30
31
| // Index.ets
@Entry
@Component
struct Index {
@State message: string = 'Hello World';
build() {
Row() {
Column() {
Text(this.message)
.fontSize(50)
.fontWeight(FontWeight.Bold)
// 添加按钮,以响应用户onClick事件
Button() {
Text('Next')
.fontSize(30)
.fontWeight(FontWeight.Bold)
}
.type(ButtonType.Capsule)
.margin({
top: 20
})
.backgroundColor('#0D9FFB')
.width('40%')
.height('5%')
}
.width('100%')
}
.height('100%')
}
}
|
3、编辑窗口右上角选择Previewer,点击run进行预览

(三)构建第二个页面
1、在pages文件夹中新建ArkTS File,命名为Second。
2、在entry > src > main > resources > base > profile文件夹下main_pages.json中配置第二个页面
1
2
3
4
5
6
7
| {
"src": [
"pages/Index",
"pages/Second"
]
}
|
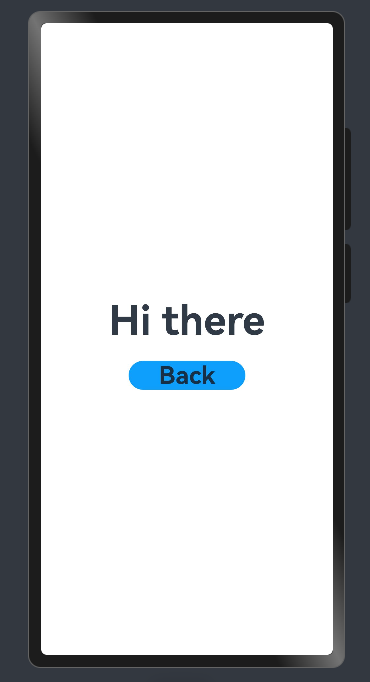
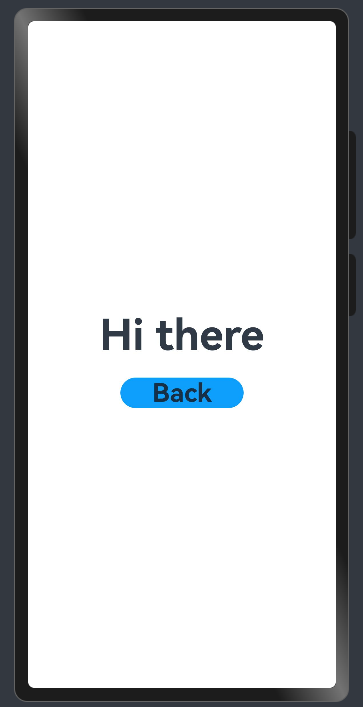
3、添加文本及按钮
1
2
3
4
5
6
7
8
9
10
11
12
13
14
15
16
17
18
19
20
21
22
23
24
25
26
27
28
| @Entry
@Component
struct Second {
@State message: string = 'Hi there';
build() {
Row() {
Column() {
Text(this.message)
.fontSize(50)
.fontWeight(FontWeight.Bold)
Button() {
Text('Back')
.fontSize(30)
.fontWeight(FontWeight.Bold)
}
.type(ButtonType.Capsule)
.margin({
top: 20
})
.backgroundColor('#0D9FFB')
.width('40%')
.height('5%')
}
.width('100%')
}
.height('100%')
}
}
|
(四)实现页面间的跳转
1、在第一个页面中,跳转按钮绑定onClick事件,单击按钮时跳转到第二页。
1
2
3
4
5
6
7
8
9
10
11
12
13
14
15
16
17
18
19
20
21
22
23
24
25
26
27
28
29
30
31
32
33
34
35
36
37
38
39
40
41
42
43
44
| import { BusinessError } from '@kit.BasicServicesKit';
@Entry
@Component
struct Index {
@State message: string = 'Hello World';
build() {
Row() {
Column() {
Text(this.message)
.fontSize(50)
.fontWeight(FontWeight.Bold)
// 添加按钮,以响应用户onClick事件
Button() {
Text('Next')
.fontSize(30)
.fontWeight(FontWeight.Bold)
}
.type(ButtonType.Capsule)
.margin({
top: 20
})
.backgroundColor('#0D9FFB')
.width('40%')
.height('5%')
// 跳转按钮绑定onClick事件,单击时跳转到第二页
.onClick(() => {
console.info(`Succeeded in clicking the 'Next' button.`)
// 获取UIContext
let uiContext: UIContext = this.getUIContext();
let router = uiContext.getRouter();
// 跳转到第二页
router.pushUrl({ url: 'pages/Second' }).then(() => {
console.info('Succeeded in jumping to the second page.')
}).catch((err: BusinessError) => {
console.error(`Failed to jump to the second page. Code is ${err.code},
message is ${err.message}`)
})
})
}
.width('100%')
}
.height('100%')
}
}
|
2、在第二个页面中,返回按钮绑定onClick事件,单击按钮时返回到第一页。
1
2
3
4
5
6
7
8
9
10
11
12
13
14
15
16
17
18
19
20
21
22
23
24
25
26
27
28
| @Entry
@Component
struct Second {
@State message: string = 'Hi there';
build() {
Row() {
Column() {
Text(this.message)
.fontSize(50)
.fontWeight(FontWeight.Bold)
Button() {
Text('Back')
.fontSize(30)
.fontWeight(FontWeight.Bold)
}
.type(ButtonType.Capsule)
.margin({
top: 20
})
.backgroundColor('#0D9FFB')
.width('40%')
.height('5%')
}
.width('100%')
}
.height('100%')
}
}
|
三、程序运行结果


四、问题总结与体会
在本次实验中,我了解了鸿蒙应用程序的包结构、资源文件的使用,学习了ArkTS的核心功能和语法。体会到了鸿蒙系统一次开发多端部署的意义,同一段ArkTS代码在手机、平板中会自动适应不同的分辨率,减少了适配时开发的麻烦。


